DESIGNED & MANUFACTURED IN THE UK
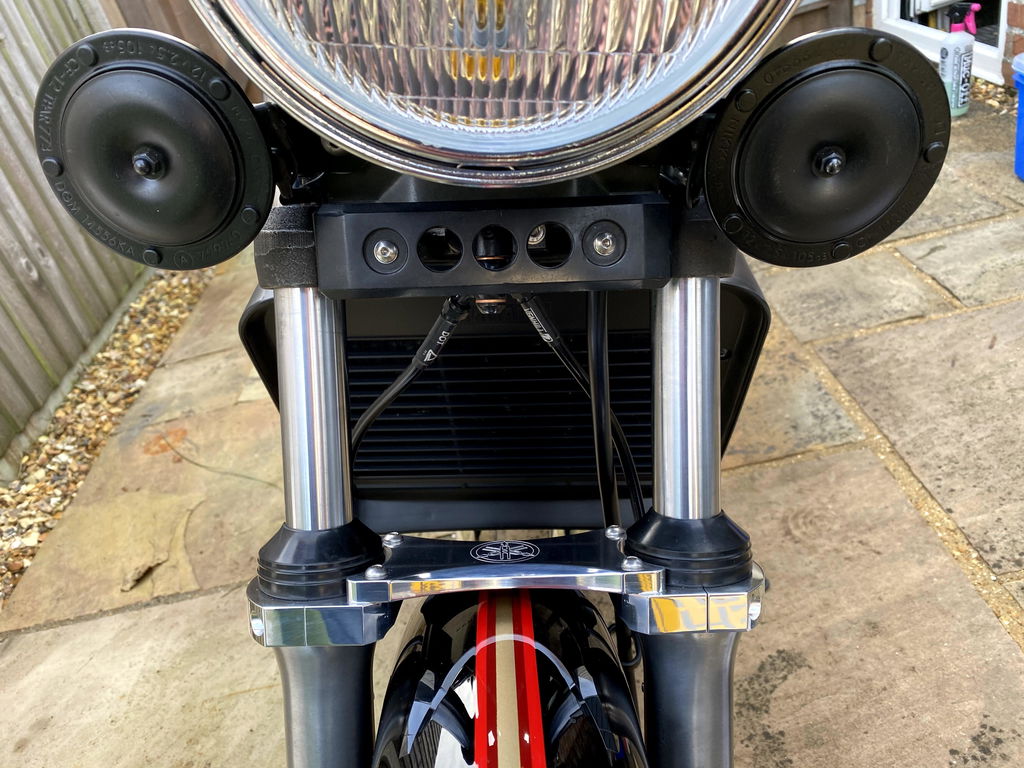
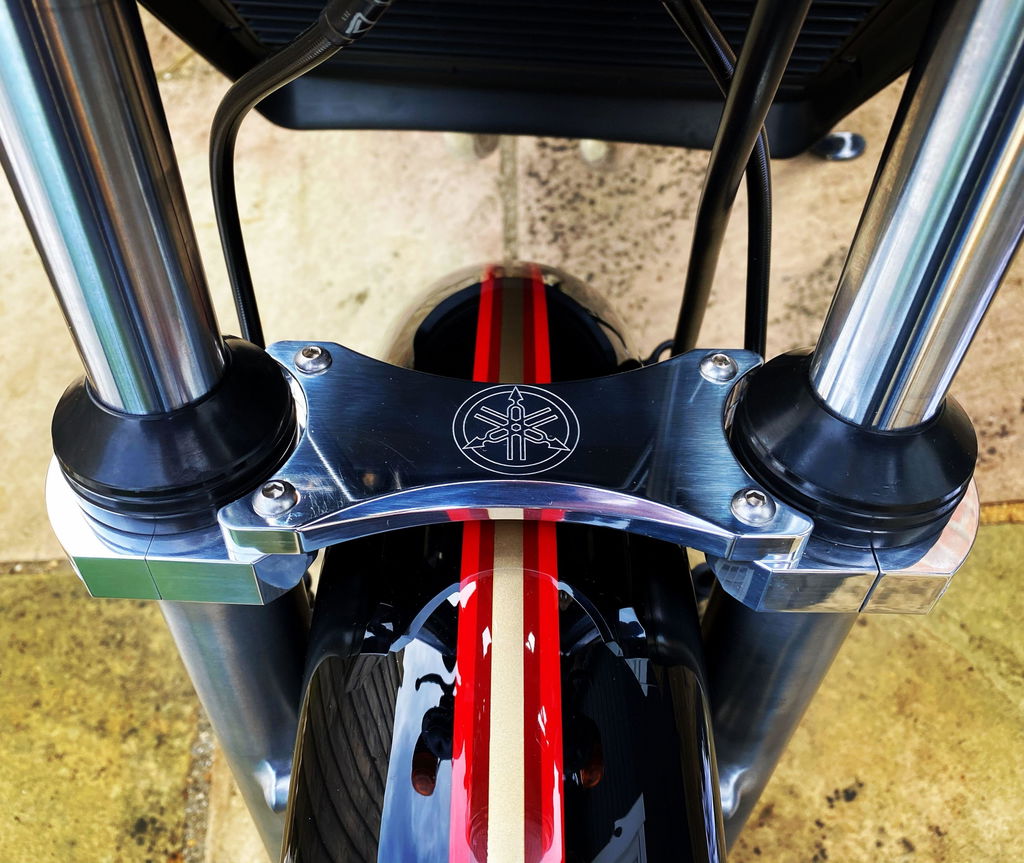
Yamaha RD350LC Fork Brace
Yamaha RD350LC Fork Brace
Couldn't load pickup availability
Click here for Fork Brace Installation Instructions
This fork brace has been designed & manufactured inhouse from high grade aluminium and is available in a variety of finishes. This period style brace is ideally suited for those doing restoration projects, café racer builds or custom creations. This is a three piece motorcycle fork brace (Stabilizer) consisting of two leg clamps and a top plate that is designed to help alleviate twist and wobble on the front end of your motorcycle, this should also help with front end feel when cornering. Our braces come highly polished and stainless steel screws are provided. **Black Anodising is available on request for an extra cost, and it may take up to 10 working days for your fork brace to be delivered - for more information on costs please don't hesitate to contact us**
This brace has 54mm leg clamps with 175mm stanchion centres.
Fitting Instructions
This fork brace should be installed by a competent person. If you are unsure about any part of the fitting process, please have it installed by a qualified motorcycle technician.
-
Raise the dust caps
Where fitted, lift the fork dust caps clear of the mounting area. The fork brace must not be clamped over the dust caps or boots. -
Position the leg clamps
Remove the M6 clamp screws using a 5 mm Allen key. Fit each clamp around the fork stanchion and lower it into position at the top of the fork leg. -
Loosely secure the clamps
Refit the screws and tighten them lightly, leaving enough movement to adjust the clamps. Keep the gaps on either side of each clamp as even as possible. -
Fit the top plate
Position the top plate over the leg clamps and align the mounting holes. Insert all four M6 × 20 mm button-head screws using a 4 mm Allen key, tightening them lightly. -
Align and tighten
Check that both leg clamps and the top plate sit evenly and squarely. Tighten the leg-clamp screws first, followed by the top-plate screws, using the appropriate torque setting below. -
Refit the dust caps or boots
Return the dust caps or boots to their correct position.
Torque settings — M6 stainless steel bolts
| Bolt condition | Tightening torque |
|---|---|
| Dry | 8.7 Nm |
| Lubricated | 7.8 Nm |
Photographs are for illustration only and may not show the exact model supplied.
* DO NOT CLAMP OVER THE DUST CAPS*